Codespaces, Dev Containers, Oh-My! (Part 2/3)
— 13 min read
But I Don't Like Browser UI; It Is Very Slow on My 64kbps Connection
Web interfaces are great, especially modern ones, but you do need a fast connection for a non-painful editing experience. Also, there is a problem with keyboard shortcuts, as a lot of keystroke combinations are used by the browser.
There is a solution for this. You can use desktop VSCode connected to a remote machine. In this case, the IDE is running on your local machine, but the code is being edited and run is on the remote machine. In this mode, the only things that are being transferred between the local and the remote machine are the changes to the code and your program output.
There are two ways to do this:
- Open it from a running Codespace environment. To do this, press
Cmd-P(orCtrl-Pon Windows) to open the command palette, then type "desktop" to find the option 'Open in VSCode Desktop'. This command will cause your browser to start a VSCode on your local machine and connect it to the Codespaces environment.
- Open the Codespace directly from the GitHub repository webpage. Navigate to the repository, click on the green "Code" button, and select the "Open with VSCode Desktop" option.
Remember, that even if you use local VSCode to edit the code, the remote environment is still running and consuming your Codespaces usage quota. If you exceed your free monthly allocation of minutes, you will be charged for the additional usage.
Also, even when you are connected to a Codespace from your local VSCode, the remote environment is still subject to the idle timeout and auto-shutdown policies. If you leave your Codespace idle for an extended period, it will automatically shut down to conserve resources and prevent unnecessary charges.
To avoid unexpected costs, make sure to stop your Codespace when you are finished working. You can do this from the Codespaces page on GitHub, or by running the "Codespaces: Stop Current Codespace" command from the command palette in VSCode.
But, I Miss Oh-My-Zsh
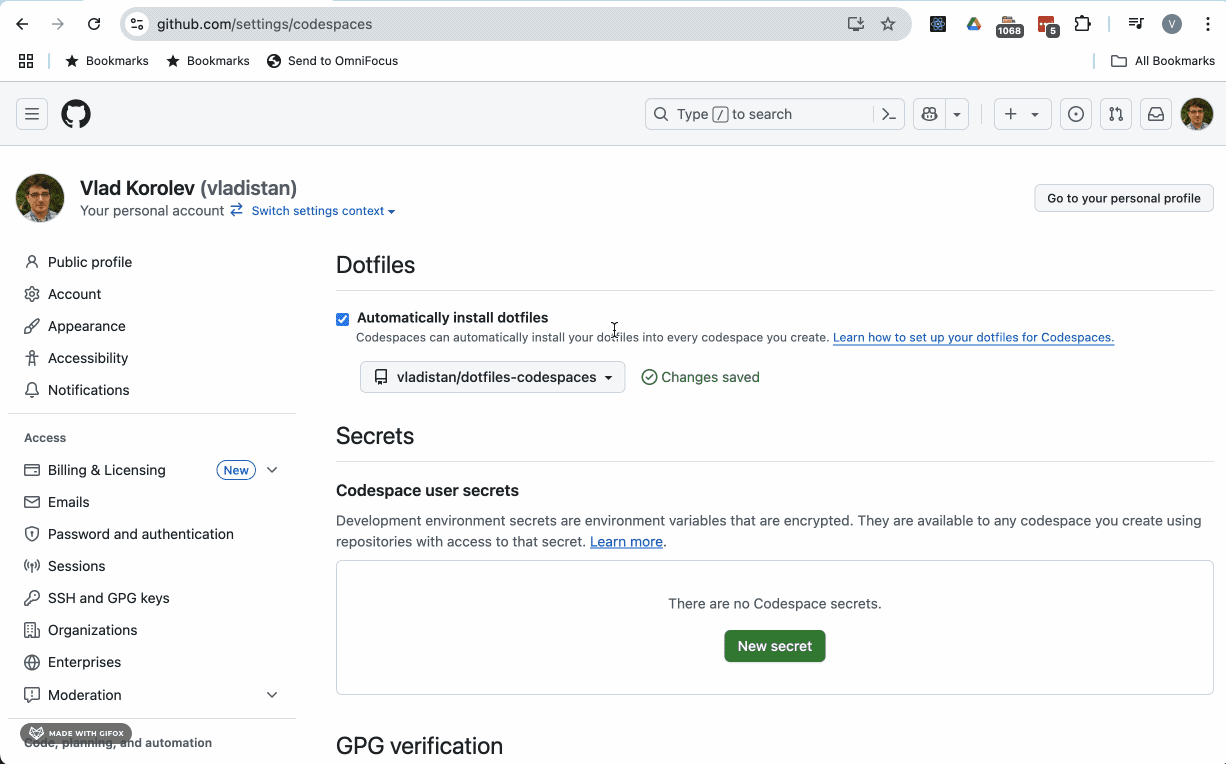
A typical DevContainer is configured with a basic shell setup meant to work for everyone, unfortunately this usually means you get a plain, minimal environment. Developers often want more like a custom prompt, a fancy status line, better auto-completion, or extra utilities. What feels perfect to one person might seem cluttered or awkward to someone else, so it's tough to make a single configuration that suits everyone. To address this, Codespaces allows you to use your own dotfiles. You can set up a repository with customizations that make your terminal feel just right for you.
Note that your dotfiles and Codespaces settings are tied to your GitHub user profile, not to any specific project. This means you get your preferred setup in every Codespace, no matter which repository you're working on. Any changes you make to your Codespaces profile will apply to all your Codespaces, giving you a consistent experience with your favorite tools and settings.
If someone else starts a Codespace from your repository, their own dotfiles will be used instead of yours. This way, each developer gets a workspace that matches their personal preferences, making it easier for everyone to feel comfortable and productive when collaborating.
Keep in mind, though, that DevContainers is different from a regular desktop environment many dotfile repositories found on GitHub aren't built for DevContainers, so it's best to use ones made for specifically for CodeSpaces like this one](https://github.com/vladistan/dotfiles-codespaces).
But I don't want to give my money to Microsoft, I don't use GitHub.
If you're interested in cloud development but prefer not to use Microsoft's products like Codespaces or GitHub, there are plenty of alternatives available. In fact, some of these tools do not require you to work in the cloud at all, you can run them locally or on your own infrastructure. The DevContainers specification is an open standard, so you can take advantage of DevContainers and similar development environments regardless of your platform or provider.
A variety of tools now support DevContainers, each offering different features and deployment options. The table below shows some popular alternatives to GitHub's Codespaces. Some are open source, some commercial; some can be run on your own infrastructure or local machine, while others are hosted by vendors in the cloud. A detailed comparison of these tools is beyond the scope of this post, but I plan to explore their pros and cons in the future.
| Environment | Documentation Link | Notes |
|---|---|---|
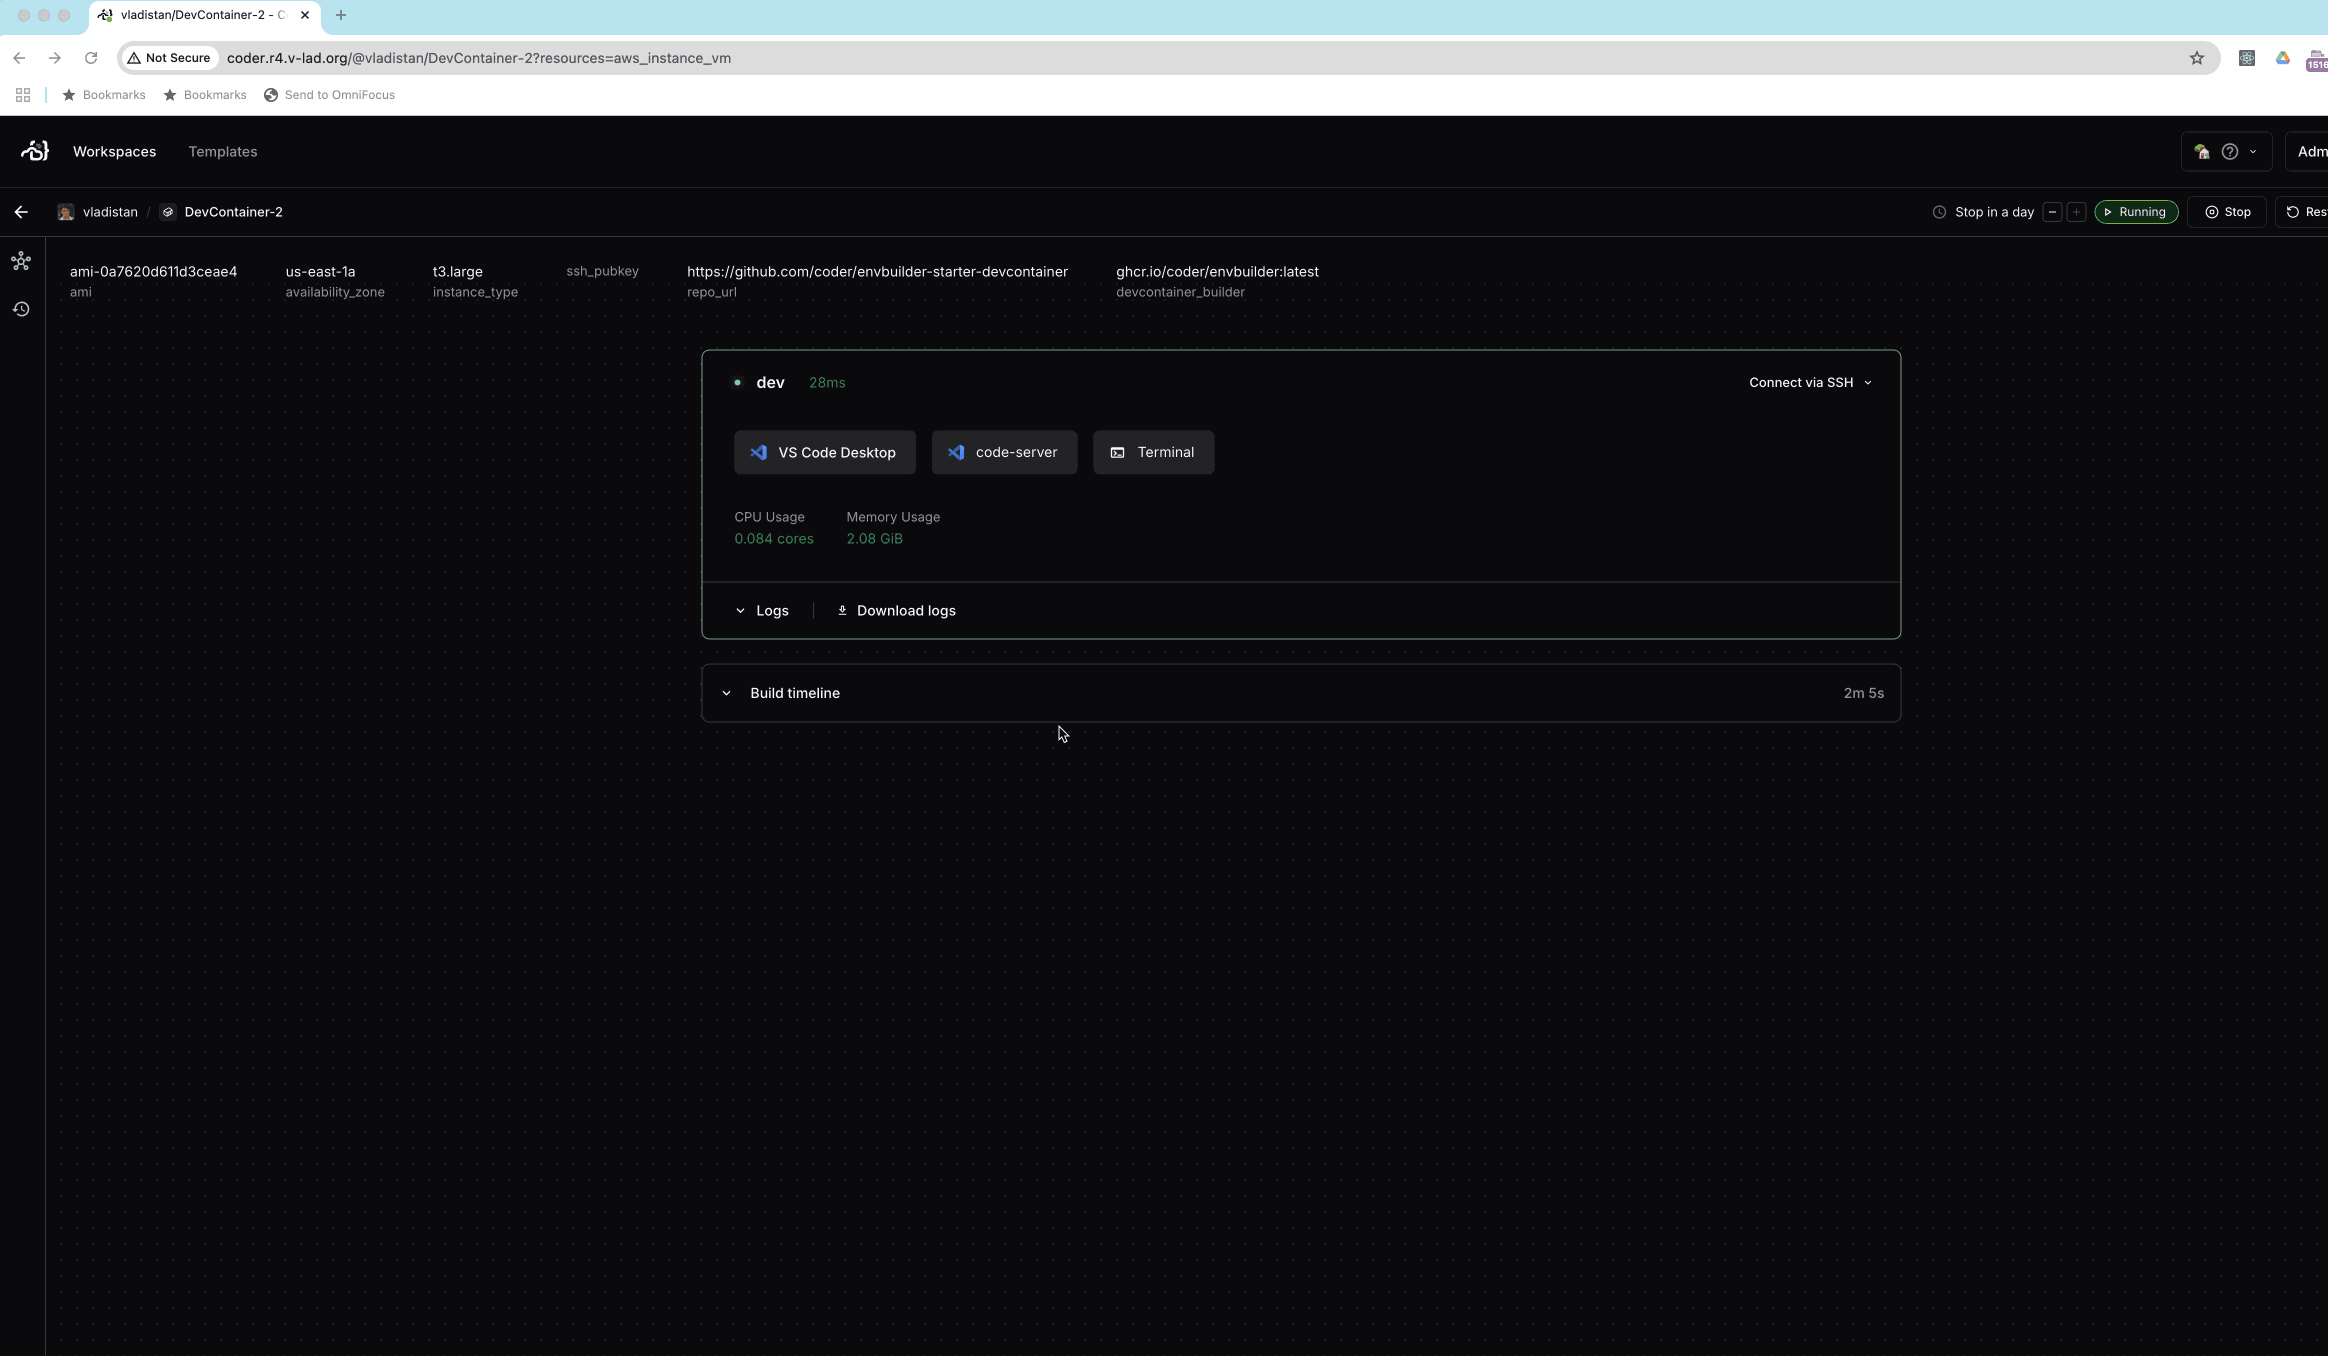
| Coder | Coder Docs | Open source project with a paid version. You can use your own cloud provider or on premises environment. |
| DevPod | DevPod Docs | Desktop application, support provisioning of development environments on your local machine with docker, in your on-premises environment or in the public cloud. |
| CodeSandbox | CodeSandbox Docs | Commercial application, providers instant cloud development environments |
| Gitpod | Gitpod Docs | Fully supports single/multi-container setups via devcontainer.json |
| Eclipse Che | Eclipse Che Docs | A project from ReadHat with heavy support for Enterprise type development. There is an open source version you can run on your own K8s cluster |
But I don't like VSCode
While Visual Studio Code (VSCode) is an extremely popular editor, it's not the ideal choice for everyone. Some developers prefer different workflows, editor ergonomics, or simply have a long-standing preference for other environments and keyboard shortcuts. Fortunately you are not forced to use VSCode to take full advantage of Codespaces and DevContainers. These technologies are highly flexible, and you can use your preferred tools to interact with cloud development environments.
Here are a few alternatives:
CodeSpaces Jupyter Environment
If your work is data science or notebook-centric, Codespaces offers
first-class support for Jupyter notebooks. You can open and run
.ipynb files directly in the browser without ever launching the
full VSCode editor interface. The Jupyter environment allows you
to leverage all the benefits of the cloud-powered Codespaces such as
persistent environments and powerful compute while sticking with a
workflow tailored to interactive Python development.
JetBrains Gateway
If you like using JetBrains IDEs such as PyCharm, IntelliJ IDEA, or WebStorm, you can try JetBrains Gateway. JetBrains Gateway lets you connect your local JetBrains IDE to a remote development environment, like a Codespace or any DevContainer you can reach with SSH. This way, you can keep working in the JetBrains editor you know, while all your code runs in the cloud. You still get the same setup, tools, and containers as you would with Codespaces.
Note: JetBrains Gateway does not currently support the free Community Editions of the JetBrains products. And support for the GitHub codespaces is still in the alpha version.
For the latest updates and community discussions regarding JetBrains Gateway support for GitHub Codespaces, please see this GitHub Community discussion and this JetBrains YouTrack issue.
Also, even without direct support for GitHub codespaces it is still possible to use them with JetBrains products, look at the SSH trick below.
I don't use VSCode, Jupyter or JetBrains can I still to collaborate with my team using my IDE?
If your IDE is not listed above, you can still use DevContainers and Codespaces. First, check if there is a plugin for your editor provided by your IDE vendor or the community. If there isn't, you can use the SSH method described below, as most editors like Zed, Cursor or Emacs these days have support for connecting to remote hosts over SSH. Use the instructions below to set it up:
Part 1: Setting up SSH access
- Install the GitHub CLI:
Install GitHub CLI tool using homebrew (brew install gh) or download it
directly from GitHub.
- Authenticate with GitHub:
Run gh auth login
to sign in, or set up a personal access
token
and make sure its available in your environment.
- Create a Codespace for your repository:
To create a CodeSpace for your repository, use a command like the one below, replace the repository name and machine type as needed.
gh codespace create --idle-timeout 10m -R vladistan/vscode-remote-try-go -m basicLinux32gb- Wait for your Codespace to become available:
The Codespace may take some time to be ready. Run the following command repeatedly until you see its status as "available":
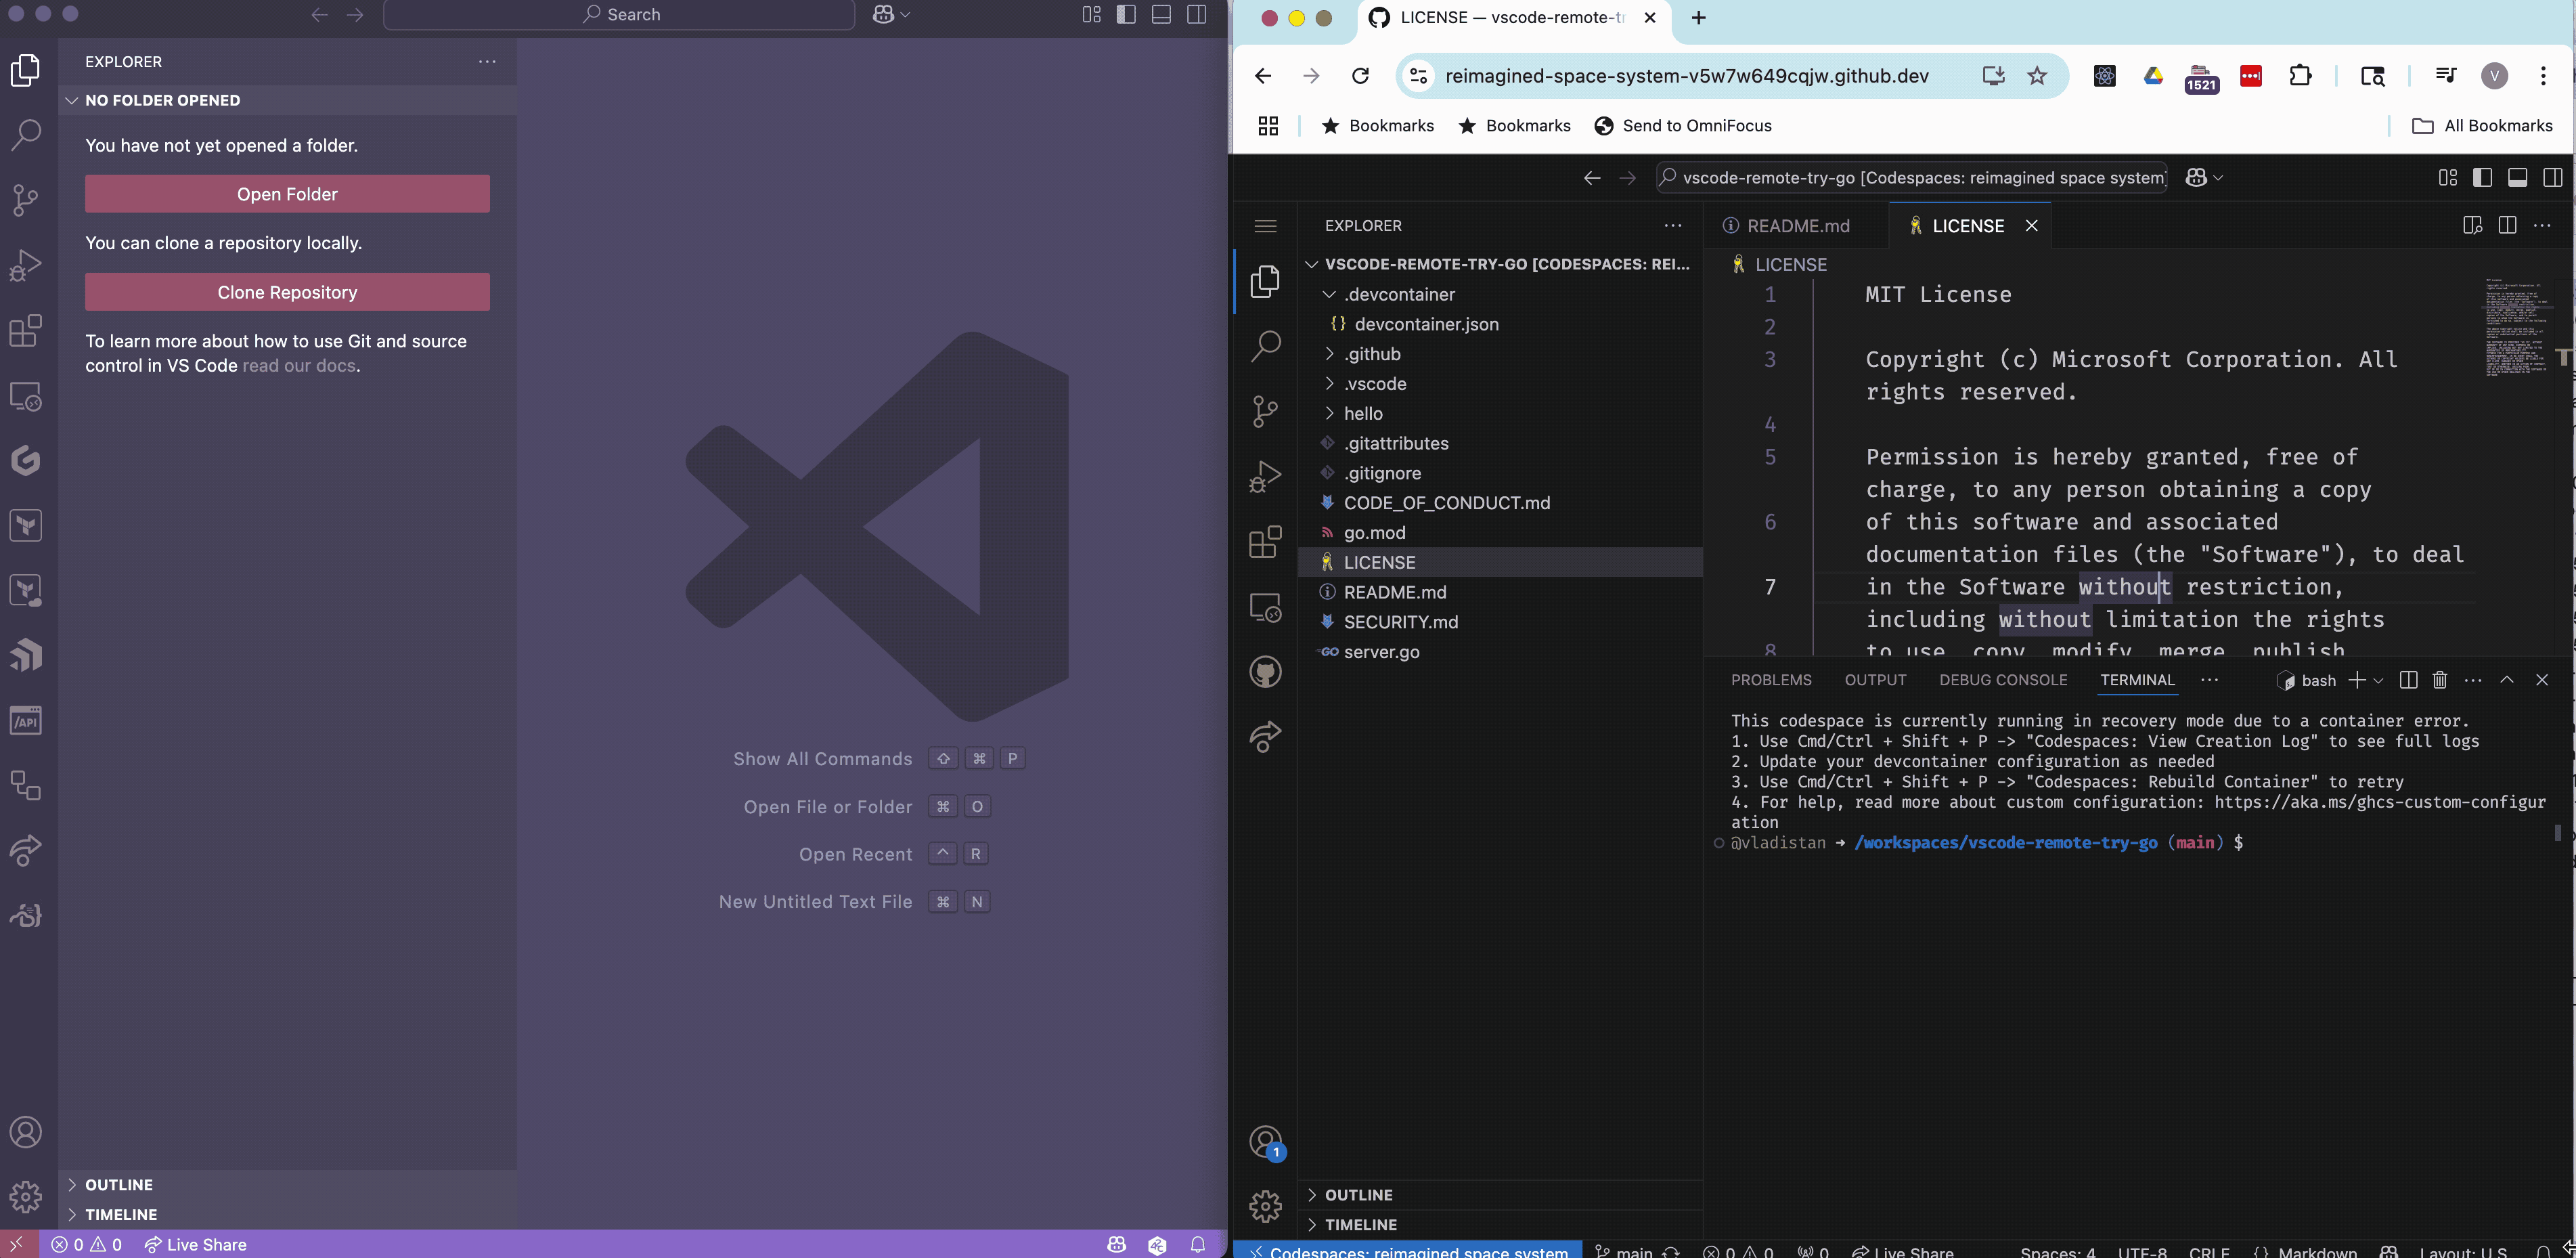
gh codespace list- Configure SSH for your Codespace:
Once your Codespace is available, set up your SSH configuration.
Replace YOUR-WORKSPACE-NAME with the actual name from the
previous step:
gh codespace ssh -c YOUR-WORKSPACE-NAME --config | tee -a ~/.ssh/configSee the screenshot below for an example of setting up SSH configuration for the codespace
Part 2: Connecting your IDE to the remote DevContainer with SSH
Now that we setup SSH access to your Codespace, you can connect to it directly from your editor. The specific steps may differ slightly depending on which editor you use. Below is the example that shows the steps for Zed. The process is very similar for other IDEs.
-
Open the command palette and start connecting to a remote server:
Use the keyboard shortcut (e.g., Cmd+Shift+P or Ctrl+Shift+P) to open the command palette. Then, search for "Connect to Remote" (or similar) and select the option to connect to a new server.
-
Enter the SSH configuration name:
When prompted, enter the full hostname from your SSH configuration (from the previous step), not just the codespace name.
-
Specify the project directory:
Enter the path to the directory where your project resides inside the codespace devcontainer.
-
Wait for the connection:
After a few seconds, your will see the remote project opened in your editor and ready for development.
This method works for many editors, the ones that I personally verified are:
- Zed
- Cursor
- JetBrains Gateway
- Emacs
- At the time of this writing, it does not work with Windsurf.
Few things to watch out for when using this method to connect:
-
Sometimes codespaces will fail to detect that the space is not idle. So, make sure to select the correct idle timeout in codespace settings.
-
If your codespace shuts down due to idleness or you are trying to reconnect to the already configured codespace that was shut down, use
gh codespace sshto connect to the codespace; it will be reactivated. -
Many editors insist on specifying a username and working directory for the remote connection. That depends on the configuration of the codespace. To find out the right ones, login into the codespace using
gh codespace sshand then usepwdandwhoamicommands to find out the right values.
Collaboration with others
When you and your teammates open Codespaces from the same repository, everyone gets their own separate development container. Everyone gets to work in their own space, with their own editor and terminal. The only way to share work is by pushing and pulling changes with Git. You do not see each other's uncommitted work or running environments. This setup is great for independence, but it makes real-time collaboration such as pair programming or debugging together a bit tricky.
When closer collaboration is needed, people use screen sharing tools like Google Meet or Slack to work together, but these can be slow, use a lot of bandwidth, and only let one person control the screen at a time. There is a better alternative, LiveShare. It is a feature built right into VSCode. LiveShare allows you to invite teammates directly into your active Codespace session. They can see your workspace, edit files, run terminals, and debug right alongside you, much like working together on a document in a Google Doc. Each person can choose to either follow the host or work on different parts of the project at the same time.
The steps below explain how to set up and use LiveShare for this kind of collaboration.
Setting Up a LiveShare Session
Initial Setup
- All participants need to install the LiveShare extension, this applies to the host and all collaborators.
- Participants decide who will be the host for the LiveShare session.
- LiveShare can be used with either the desktop version of VSCode or the web-based Codespaces UI.
Host Sets Up the Session
- The host opens the Codespace (or VSCode Desktop), clicks the LiveShare icon, and starts a new collaborative session.
- Once the session begins, VSCode generates a unique invitation link.
- The host copies this link and shares it with the collaborators.
Collaborators Join the Session
- Collaborators wait to receive the invitation link from the host.
- After receiving the link, each collaborator opens VSCode (desktop, web, or another Codespace), clicks the LiveShare icon, and selects the option to join a collaboration session.
- Paste the invitation link when prompted to connect to the shared session.
- After a brief moment, all participants will have access to the same project workspace as the host.
Additional Notes
- The host can control each collaborator’s permissions, granting either read-only or full editing access.
- If using the desktop version, everyone’s VSCode version should match as closely as possible. Minor version differences usually do not cause issues, but significant version drift can lead to unexpected glitches.
Note:
LiveShare sessions can be hosted either by VSCode Desktop running on the host's machine or Codespaces environment that runs in the cloud. Hosting your session from within a Codespace is safer, as it restricts access to the containerized development environment rather than your entire machine. Unfortunately, exploits are still possible. As with any remote collaboration tools, only invite collaborators that you trust.
Caveat:
LiveShare is only officially supported in the original VSCode by Microsoft. If you're using a product based on the open source VSCode codebasesuch as VSCodium, Windsurf, or CursorLiveShare may not function properly or at all. Also, LiveShare does not work with JetBrains IDEs or Zed.
Alternatives to LiveShare
While LiveShare is the most popular real-time collaboration feature in Codespaces and VSCode, several other tools exist for developers who prefer different editors or need cross-IDE collaboration:
-
Zed is designed from the ground up as a collaborative code editor. Real-time multiplayer editing is a core part of its workflow, making it seamless to code alongside teammates without any extra setup.
-
JetBrains Code With Me is a proprietary feature available in JetBrains IDEs (such as IntelliJ IDEA, PyCharm, and WebStorm). It offers similar capabilities to LiveShare—shared coding, terminals, and debugging—but is limited to JetBrains products.
-
CodeTogether is an IDE-independent, commercial solution for collaborative development. With CodeTogether, developers can join a collaboration session from their favorite IDE—VSCode, JetBrains IDEs, Eclipse, or even Visual Studio—and work together on the same project. This tool enables true cross-IDE editing but requires a monthly subscription.
Comments powered by Talkyard.