Codespaces, Dev Containers, Oh-My! (Part 1/3)
— 13 min read
These days, there is a multitude of development tools such as interpreters, virtual machines, package managers, test runners, and build tools. For any particular step in the software development life cycle, there are about three different tools available, each having about ten versions. This makes it great to set things up exactly as you want them. Unfortunately, this also makes it hard for different developers to collaborate on the same project. It's rare that two unrelated projects use the same setup. Even if they were built by the same person, as new tools come out all the time but older projects are usually not updated. This makes it even harder to collaborate with other people. Chances are, if you just clone somebody's GitHub repository, it is not going to work out of the box and some tweaking is needed. Getting your environment set up after cloning the repo could easily involve an hour or two of Google and Stack Overflow searching, especially when the project uses an unfamiliar tool that, for some reason, doesn't work right in your setup. While tweaking your setup to work on the new project, you might break the other projects that you are working on. It's a mess.

Coutersy of xkcd
We can just have everyone use the same setup, right?
In many large organizations, you probably receive a standard-issued laptop or workstation with all the tools and environments already pre-configured by your platform team. If you're not part of the platform team, don't have hobby projects, and don't collaborate with anyone outside your organization, you might not need to worry about setting up development environmentsyou can stop reading now. But if you're interested in exploring new tools, working on personal projects, or collaborating with others beyond your company, keep reading.

What about open source and small teams?
Standardized setup is great for large organizations with platform teams that can configure the development environment for all developers. But, what about small teams and open source projects?
When developers encounter a persistent problem, especially one that's highly frustrating, the open-source community responds by creating tools to address it. This is exactly what happened with the problem of setting up development environments. Now we have numerous tools to help us with this.
- npm: Simplifies managing JavaScript packages.
- Maven: Manages Java dependencies.
- Gradle: Another build tool for Java.
- Pyenv: Manages multiple Python versions.
- Poetry: Handles Python dependencies and virtual environments.
These tools are great for taking care of libraries and dependencies, and letting us focus on writing code. But they don't cover everything. They often don't handle pre-commit checks, linters, or multi-project setups. Plus, they don't version themselves (though Gradle does) or the language interpreterlike the JVM for Java or the Python interpreter.
On top of that, your projects might rely on non-programming language dependencies like databases, cache, and queue servers. You might need PostgreSQL, MariaDB, or Redis for your application. While some projects include minimal setups of these tools, these are usually only suitable for unit tests and don't reflect how they're configured in a production environment.
Side step, web based code editors
Since its creation in 2015, Visual Studio Code (VSCode) has become
the most popular code editor available. In addition to the installable
desktop version, there's a web-hosted version accessible at
vscode.dev, offering the same powerful features
directly in your browser. Moreover, GitHub provides an instant
web-based editor; by simply changing the .com in a GitHub repository
URL to .dev, you can open the repository in an editor at
github.dev. These browser-based editors are
excellent for quickly making changes or submitting patches to a
GitHub repository without the need for a full local setup.
But editor is not enough, we need to run, test and debug our code
While web-based code editors are excellent for quick edits, software development is much more than just editing code. This is where GitHub Codespaces come in. Unlike simple web-based editors, Codespaces provide complete development environments with full access to the command line and development tools.
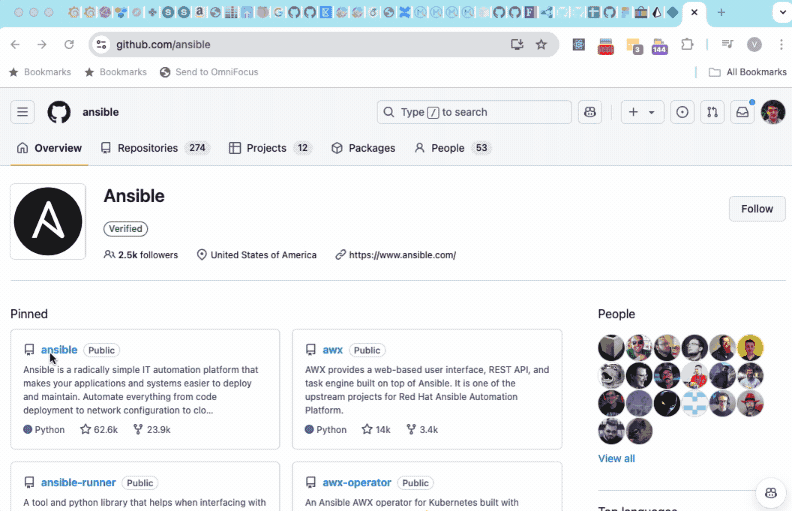
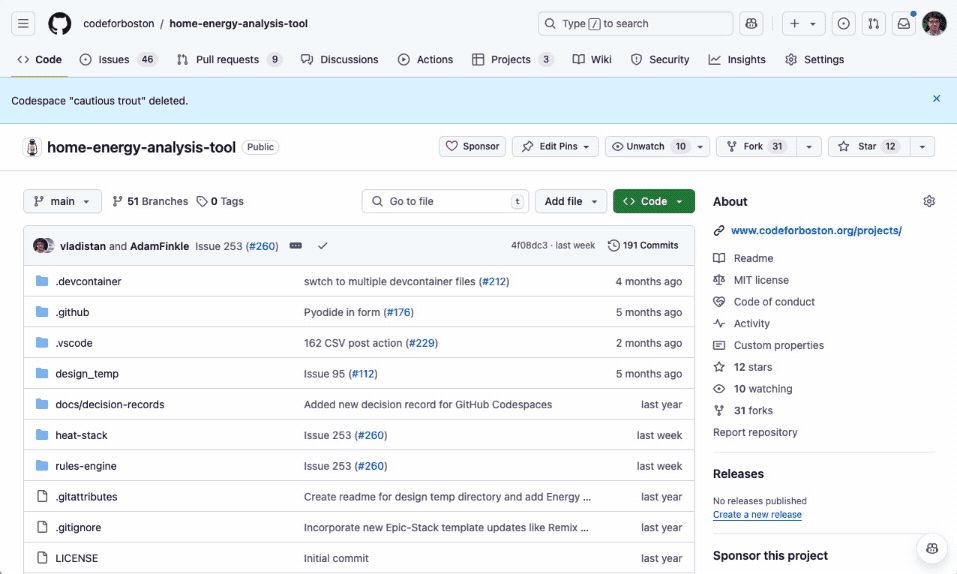
Launching a Codespace requires no setup or configuration. On any GitHub repository whether it's your own or a public one, simply click the 'Code' button and then select 'Codespaces'. That's it! See the screencast below for illustration.
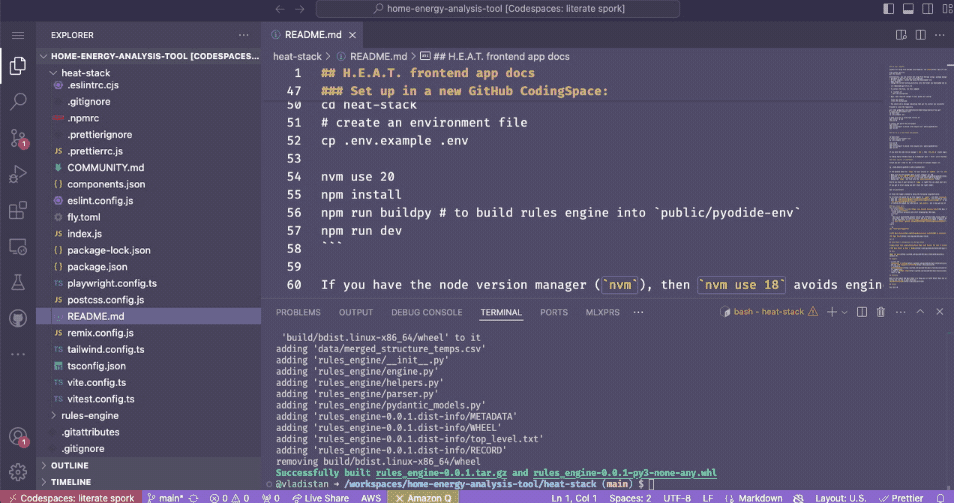
Once you launch the Codespace, you get your own container attached to the web based editor where you can install and run all the tools you need using the integrated terminal.
If you project requires a lot of compute power you can upgrade to a more powerful machine with 4 or 8 cores.
Keep in mind that this service is not free; it's billed based on your usage time. The billing is explained in more detail in the section below.
Understanding the Codespaces Lifecycle
GitHub Codespaces operates in three primary states: Running, Suspended, and Destroyed. These states are explained below:
-
Running State: When you launch a Codespace and interact with it, it's in the running state. Your Codespace continues to run even when you close the browser tab. Once you re-open it, you will find everything as it was when you left it, including all editors and terminals. This makes it easy to pick up where you left off without losing any progress or context.
-
Suspended State: If your Codespace has been idle for a while, it transitions into a suspended state. In this state, the container stops and doesn't consume any CPU or RAM resources. However, the filesystem content remains intact. All the tools you've installed, configuration changes, and source code edits are preserved. When you're ready to resume work, you can easily revive the suspended Codespace. To wake up a suspended Codespace, navigate to the Codespaces tab and launch the existing Codespace. Note that any processes that were running before suspension such as dev servers will need to be restarted.
-
Destroyed State: If a Codespace hasn't been used for a few weeks, it's reclaimed and enters the destroyed state. All changes made within the container are lost. To prevent losing unsaved work, it's important to push your code and changes to the repository regularly.
Understanding Codespaces Billing
While GitHub Codespaces provides a powerful cloud-based development environment, it's important to be aware of the costs associated with its usage to prevent the unexpected charges.
-
Billing for Running Codespaces: You are billed for every minute your Codespace is in the Running state. This includes time when the Codespace is active, even if you're not actively using it. Or do not even have a browser tab open it.
-
Monthly Time Allocation: Each GitHub account receives a fixed time allocation of Codespaces usage per month. If you exceed this allocation, you will be billed for the additional time according to GitHub's pricing.
-
Storage Costs: Each account also has a certain amount of Codespaces storage allocated per month. If you use more storage than your allocated quota, you will incur additional charges.
The exact allocations for compute time and storage depend on your account type (e.g., Free, Pro, Teams, or Enterprise). For detailed information, look at the GitHub Codespaces Billing Documentation.
-
Preventing Extra Charges: To prevent extra charges and unpleasant surprises:
-
Stop Your Codespaces: Always stop your Codespaces when you're not using them. If you frequently launch new Codespaces and let them go idle automatically after a timeout, the cumulative running time could add up to a significant amount.
-
Adjust Timeout Settings: You can adjust the idle timeout settings for your Codespaces to control how quickly they transition to a suspended state when not in use.
Set Spending Limits: To control costs, you can set a hard spending limit within your GitHub account settings. This limit prevents you from accidentally incurring charges beyond a specified amount.
-
But, I need to work on the web app
When working on web applications, the need to interact with your app using local tools like a browser or API clients such as Postman is essential. You might think that an isolated container running on a remote server won't allow this kind of interaction. However, this is where port forwarding comes into play. Port forwarding enables you to map ports from your app running in the remote container directly to your local machine. This means you can access your web application through your local browser or Postman just as if it were running locally. Tools like Codespaces and Dev Containers support automatic port forwarding, making it seamless to develop, test, and debug your web applications remotely while interacting with them using your familiar local tools.
But, my app requires Python/Java/Node/PHP/Rails ?
If your app requires a complex runtime like Django, J2EE, Rails, or PHP, do you need to install everything every time you launch the Codespace?
No. As mentioned above, Codespaces are backed by containers, so you can choose the container image that will be used as the base for your Codespace. The base container image includes all the necessary language tools and application servers. When the Codespaces environment is launched, the code from your repository is checked out into the created container.
But, app containers are terrible as development environments
Runtime containers used to serve applications are often extremely minimalistic, including only what's necessary to run the application. They exclude development tools, linters, and fancy shells like oh-my-zsh. In fact, it's considered good practice to use stripped-down, container-based OS distributions like Alpine Linux that contain the bare minimum needed. However, these spartan environments are not ideal for development purposes.
That's where Dev Containers come into play. Unlike runtime containers, Dev Containers are feature-rich environments packed with all your development tools, editors, linters, and more. They provide a luxurious setting for development compared to the minimalism of runtime containers.
To get started, there is a growing collection of Dev Container
Templates available. To configure
your repository to use a particular Dev Container, create a
.devcontainer folder in the root of your repository and add a
devcontainer.json file. The contents of this file should look
something like this:
{ "image": "mcr.microsoft.com/devcontainers/javascript-node:20"}But, I need to to use my favorite tool that is not available in the container
Yes, Dev Containers are great; they come with a variety of development tools pre-installed. But, no matter what container template you choose there is a good chance that it will miss a few of your favorite tools like ed. Does it mean that you have to build your own container image just to add these missing tools?
This could lead to a messy situation where everyone creates their own container for minor tweaks, resulting in a proliferation of nearly identical containers.
For instance, suppose you find a container that includes PNPM, DENO and Fish all tools you need but it also includes Python 2.7, which isn't compatible with your project's requirement for Python 3.9. In this case, that container is useless to you. And you have to start from scratch and create your own container, just to replace the version of Python.
This is where Dev Container Features come to help. Features allow to add extra tools to the existing containers in a modular way, letting us mix and match exactly what we need without the overhead of maintaining custom container images.
Below is an example of a devcontainer.json file that uses a Dev Container Features to add the oh-my-zsh shell, set it up
with the robbyrussell theme and also adds a number of JQ like tools such as jq, yq, gojq, and xq.
{ "name": "Plain Python 3.11", "image": "mcr.microsoft.com/devcontainers/python:3.11", "features": { "ghcr.io/devcontainers/features/common-utils:2": { "configureZshAsDefaultShell": "true" }, "ghcr.io/nils-geistmann/devcontainers-features/zsh:0": { "theme": "robbyrussell", "plugins": "git", "setLocale": false, "desiredLocale": "en_US.UTF-8" }, "ghcr.io/eitsupi/devcontainer-features/jq-likes:2": { "jqVersion": "latest", "yqVersion": "latest", "gojqVersion": "latest", "xqVersion": "latest" } }}The Dev Container community maintains a growing list of availble Features on GitHub Dev Containers Features page. The dev container community has created a lot of features for a large variety of tools and languages, so if you need a tool for your project, chances are someone has already created a feature for it. for it.
Great, but still it is annoying to do npm install every time I launch Codespace
One of the neat features of Dev Containers is that you don't
need to hand-configure your environment every time you create a
Codespace. Instead, you can automate the setup process by putting
all the setup commands into a shell script and refer to it in your
devcontainer.json file. This script will automatically run every
time you launch the Codespace, ensuring that you have everything
pre-configured out of the box. For example, you can use the
the script to set up your node dependencies and pre-commit hooks automatically
by putting npm install and pre-commit install in a shell script and referring
to it in your devcontainer.json file.
Also, you can specify Visual Studio Code extensions to be automatically installed in your container, ensuring that your development environment is fully configured right from the start. You can even provide a list of files to be pre-opened when you launch your Codespace, so you can get straight into working on your project immediately.
Here's an example of a devcontainer.json file that demonstrates these features:
{ "name": "Plain Python 3.11", "image": "mcr.microsoft.com/devcontainers/python:3.11", "customizations": { "codespaces": { "openFiles": [ "README.md" ] }, "vscode": { "extensions": [ "ms-python.python@2024.1.10401008", "tamasfe.even-better-toml@0.19.2", "eamodio.gitlens@14.8.2", "MS-vsliveshare.vsliveshare@1.0.5905", "github.copilot-chat@0.13.0" ], "settings": { "terminal.integrated.defaultProfile.linux": "zsh", "terminal.integrated.profiles.linux": { "zsh": { "path": "/usr/bin/zsh" } } } } }, "updateContentCommand": ".devcontainer/env_setup.sh"}In this example:
-
The
updateContentCommandspecifies that.devcontainer/env_setup.shwhich installs python dependencies and pre-commit hooks is to be executed after the container is created. -
The
extensionsarray lists the VS Code extensions that will be installed in the container, so you don't have to install them manually each time - -
The
customizations.vscode.settingsproperty specifies a list of available shells for the terminal and selectszshas the default shell. -
The
customizations.codespaces.openFilesproperty specifies a list of files that will be opened automatically when you start your Codespace, allowing you to get started right away without navigating through the file explorer.
Putting it all together
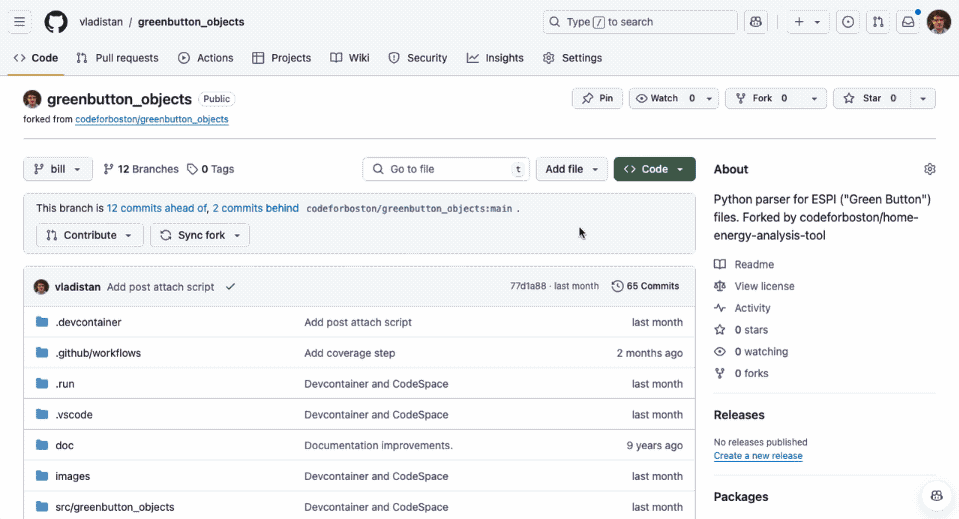
Finally, let's put it all together. Below is a screencast that shows the a complete example of launching up a Codespace with a Dev Container. In this example we launch the environment for greenbutton-objects library. Once the environment is running, it is ready to run the unit tests, in addtion it comes pre-configured with a number of pre-commit hooks that prevent problem or poorly formatted code from being committed to the repository.
Use the button below to try it for yourself.
To be continued
In this post, we've explored how Dev Containers can enhance your development workflow. But there's a lot more !
In the next post, we'll go into alternatives to GitHub Codespaces and Visual Studio Code. We'll also discuss how to work with multiple Git repositories such as an application and a library at the same time.
Comments powered by Talkyard.